I made a tile editor for fun. Before the initial Oh God! Why would you want to make a tile editor for fun comments. Editors, procedural generation, and A.I. has always been a point of interest for me. This project seemed like a really good starting point. This post is going to go over the high level workings of the tool some info I learned along the way.
Before that, I cannot take full credit for the tool creation because I learned a lot of the core concepts of creating a tile editor from Lynda.com 2d tile editor course. Fun side note the course only went over building a tile editor for a 2D sprite game, getting the editor to work in 3D with prefabs was a whole other beast.
M.V.P. (minimum viable product)
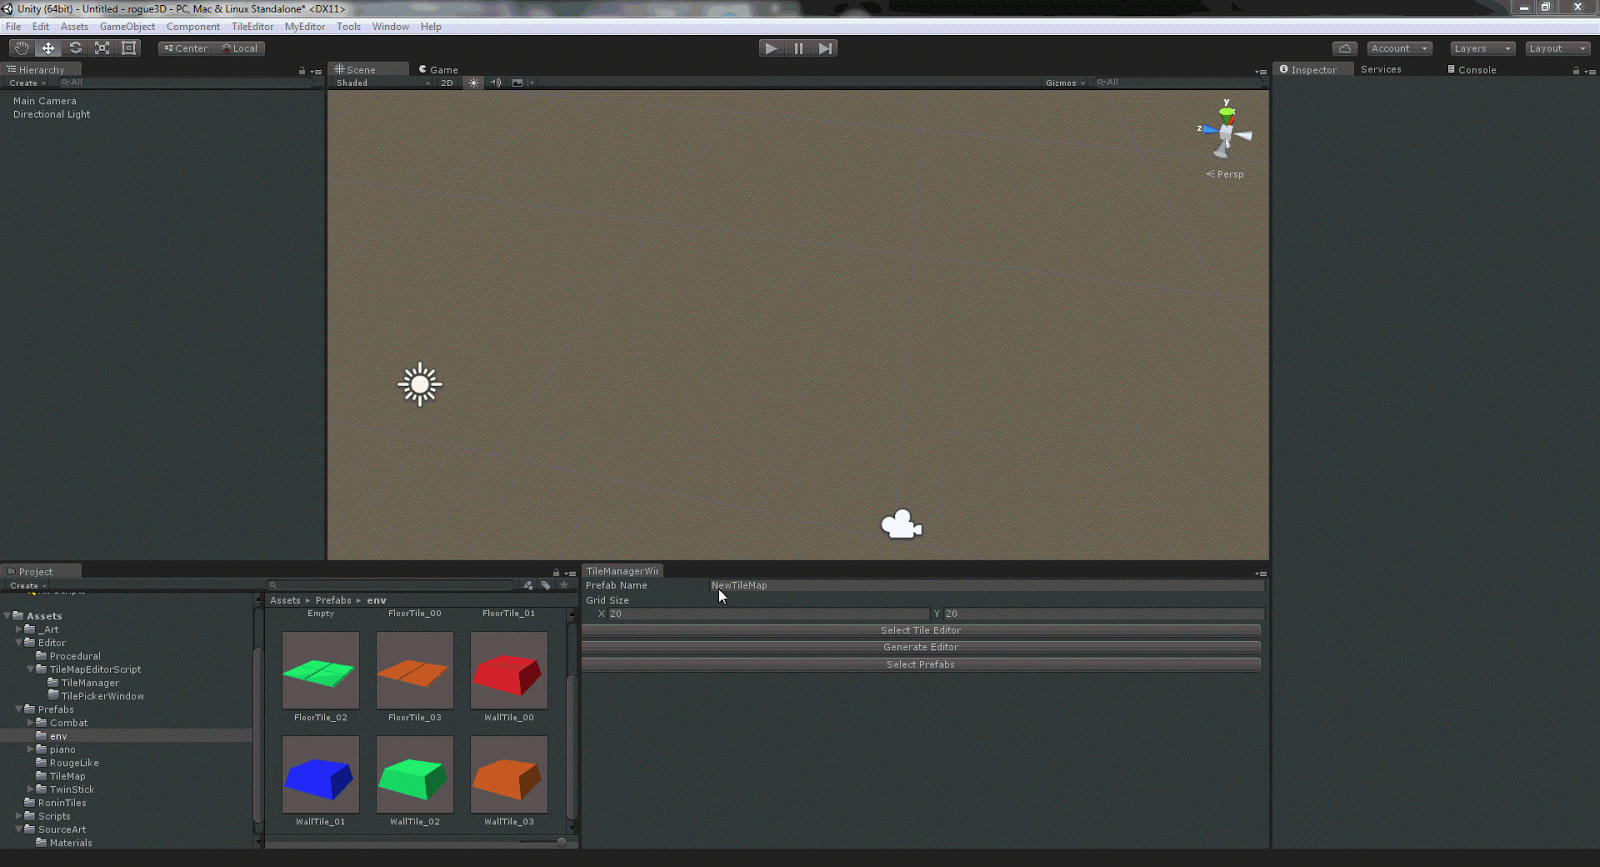
The gif. above is the 1.0 version of the tile editor, It works! The user can save out prefabs of the new tile layout and load them back in to continue working on them. The user also has full control over what prefab they can use as a tile by simply selecting them and hitting the select prefabs button. From there they hold down shift to paint the tile they want.The Code
Full disclosure I am not a programmer, nor have I spent extensiveness time with C#, though I'm happy to share what I found/learned.The are four scripts that drive this whole thing.
- Tile Manager: the code that drives the grid layout and size gizmos.
- Tile Brush: renders the red cube gizmo that is used as a brush.
- Tile Manager Editor: editor script for Tile Manager, it deals with all the ray-casting and in editor updating of gizmos.
- Tile Manager Window: the script that handles generating and selecting tile maps & the brush selection UI with a new window.
Raycasting In editor:
To get a clean Raycast from the scene the best method I found was,
Ray ray = HandleUtility.GUIPointToWorldRay(Event.current.mousePosition);
I had to execute raycasting in Tile Manager Editor script with the OnSceneGUI() Method to update the hit position of brush and the spawn point for the tiles.
AssetPreview.GetAssetPreview: this method what allowed me to get prefab thumbnail that are used in the project view to show up in my custom window.
T.L.D.R.
Code: look up Gizmos, HandleUtility.GUIPointToWorldRay, editor, OnSceneGUI(), & AssetPreview.GetAssetPreview if your going to make a tile editor it will help ;)Conclusion
I had a lot of fun researching some of this and building out a tile editor. The tool still has a ways to go in terms of editing brush size, adding a real delete option, tile editing option (like rotate and offset), saving the tile to a text doc (xml or json) and other "fun" I want to have with it & tons of clean up.Hope you enjoyed the read have a good one!
thanks for posting this type of blog... and it's hilarious to see that much comment in your blog. keep updating, and keep blogging..
ReplyDeletethanks a lot.
Tile Brush Manufacturer